Recently we recorded a video which demonstrates many of the Vector Drive’s capabilities. It’s a great resource if you’re keen to see a mix of distortion, overdrive and fuzz tones created by the pedal.
But how are all these tones made? To learn about the Vector Drive’s audio processing capabilities we’ve sketched up the following diagram:

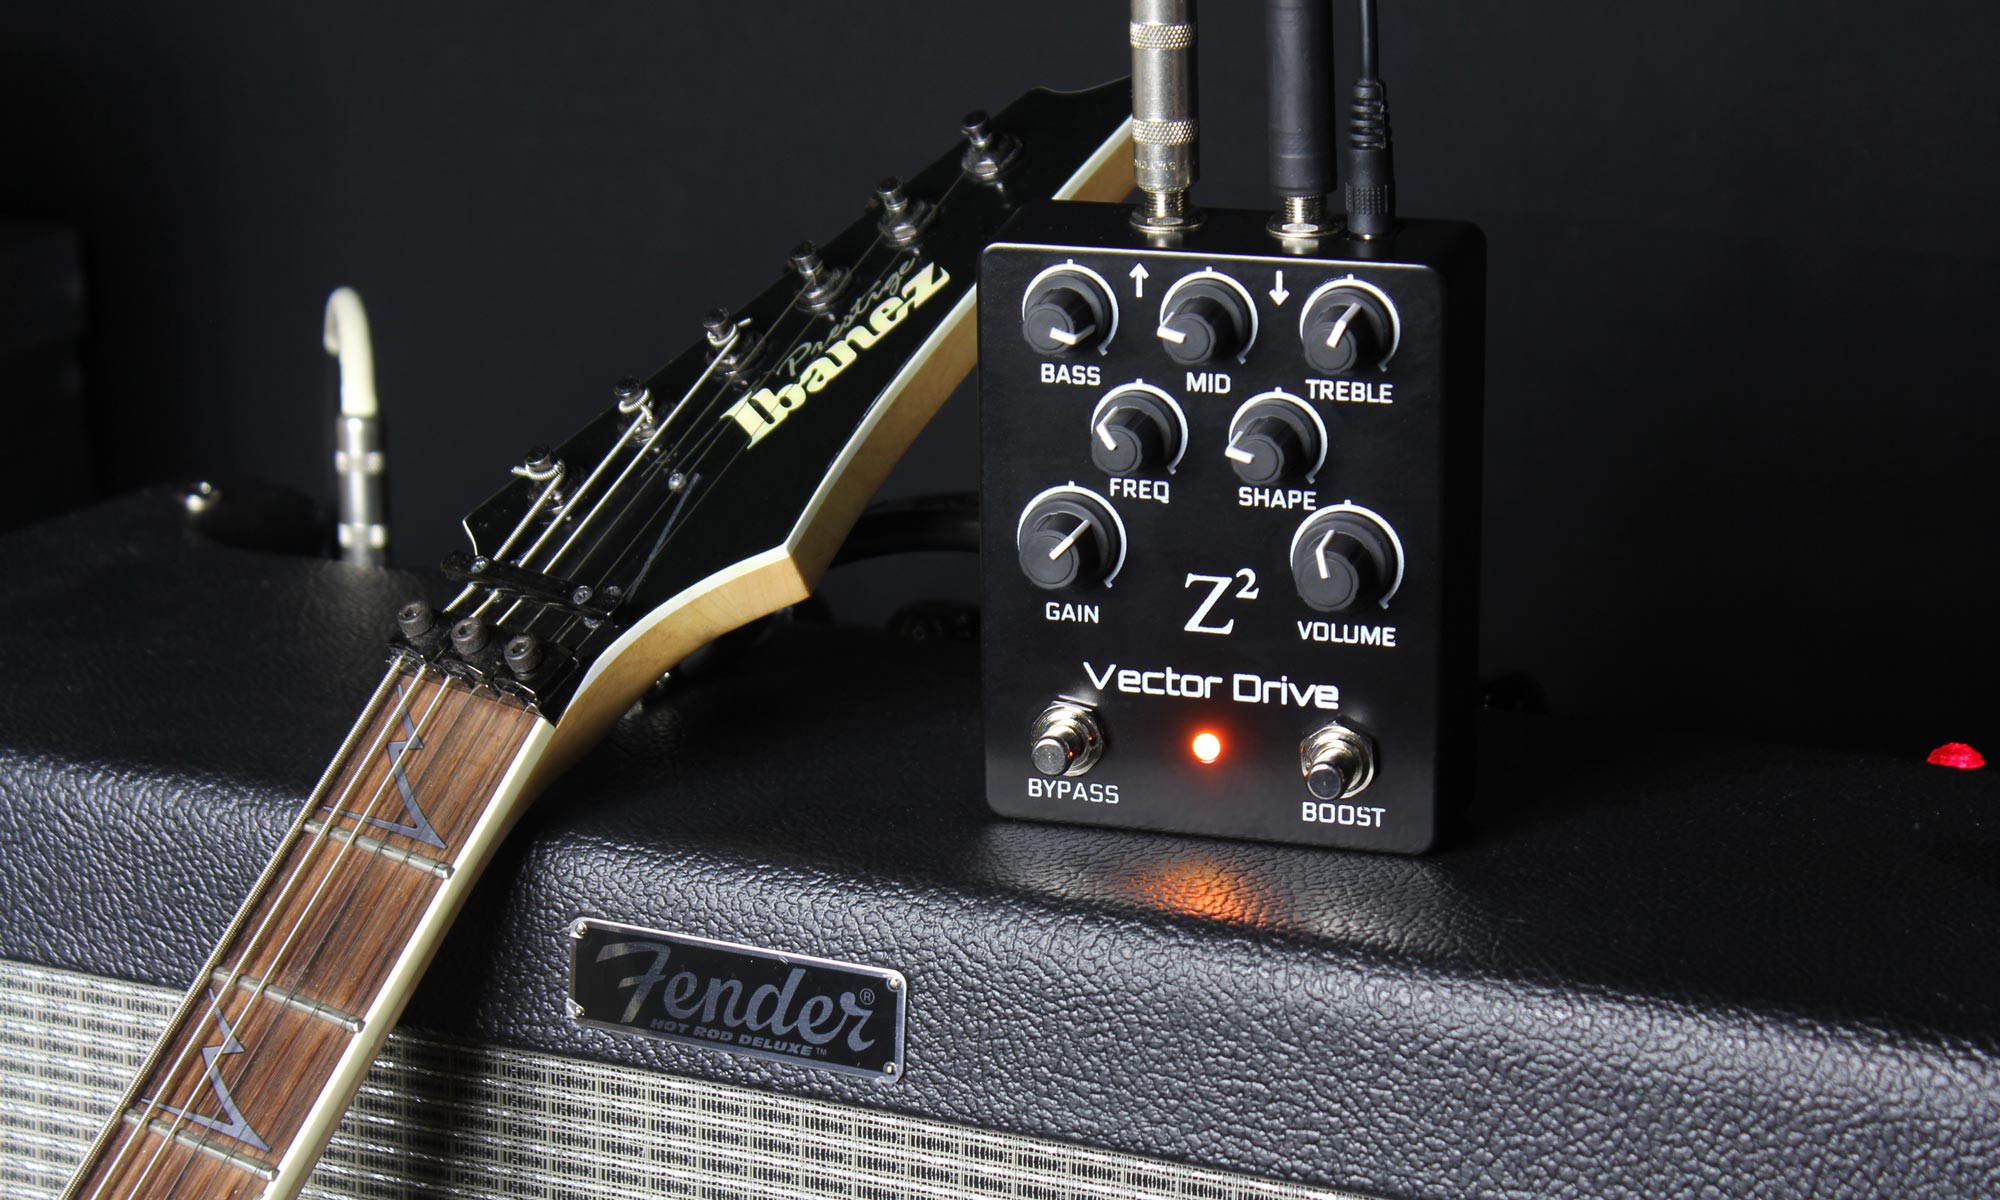
The squares (and gain triangle) represent processing blocks while the ellipses are settings you have control over. The output volume, bass/mid/treble EQ and gain controls are omitted for clarity but, as a guitarist, hopefully you have a feel for what those knobs do.
Distortion Block
In the diagram’s top half you can see the effects main purpose: gain and saturation (the ‘s’ shaped block). This is modelling amplifier clipping and is what creates distortion; everything else in the processing chain shapes the tone to your taste. The “gain boost” kicks in when you hit the boost switch and, along with a bit of tone tweaking, makes your playing jump out from the rest of the band.
Before the distortion we’ve placed a high pass filter, this removes bass from the audio before it gets distorted. Exactly how much bass is controlled by a frequency cut-off parameter. Notes below this frequency are removed and the rest allowed the pass.
A low cut-off frequency keeps the bass, allowing creation of a classic 70s fuzz tone, while increasing the cut-off frequency removes it and makes the output more “scratchy”. The cut-off can go all the way down to 20Hz so the Vector Drive is suitable for bass guitar too!
There are two symmetry parameters, one of which is discussed at length in the fuzz article and another which clips the top half of the wave more than the bottom, leading to an overdrive-like tone. We’ll be writing more about that one in a future article.
Clean Mix
Above the distortion section is a 3 channel EQ which is applied to the clean signal. This EQ’ed clean audio is then mixed in with the distorted signal to create overdrive effects. This is discussed at length in our overdrive article but in short it mimics the sound of classic overdrive pedals.
The clean/distorted mix is smoothly adjustable for maximum control. You can, for example, remove all the bass from the distortion with the high pass filter then mix in clean bass by adjustment of the clean EQ. This can avoid the distortion sounding “muddy”, which can happen if too much bass goes through the clipping section, but keeps bass in the output.
Post-Processing
Output Equalizer
In the diagram’s lower half we start with another 3 channel EQ but this time the mid frequency is adjustable. Setting the mid frequency to around 700Hz lets you create a brutal scooped mids tone or it can be turned up and boosted to really cut through the mix for a shredding solo.
Boost Filter
Next comes the boost filter. Activating boost not only gives you more gain but also increases the presence of your sound. This is a switchable increase of the upper-mids which makes your tone clearer and more “present”.
Speak Cabinet Emulation
After the boost filter comes the cab model which is detailed in an earlier article. This is a filter which emulates the tone of a real guitar speaker cabinet, allowing the Vector Drive to sound like a real amp when practicing with headphones, recording or even playing at a live gig.
Output Limiter
Finally there’s an output limiter. This stops the output from hard clipping when turned up too loud. When the limiter is engaged the indicator LED flashes rapidly. If the limiter is activated occasionally it isn’t a major issue but the output volume should be dropped if it is always on.
Final Words
If you haven’t seen the video yet you can check it out at the top of this post or here on our Facebook. The Vector Drive is scheduled for release in late 2017 or early 2018, we’ll keep you updated via the Facebook page.